Sunday, February 23, 2014

Wishful Sunday

I am enjoying the hand quilting process, and hope to complete a block today on Slow Sunday Stitching.  Oh how I wish I could quilt all day; however, today is not that kind of a Sunday.  

While I quilt, I complete each block before I move onto the next.  I then proceed across each row block by block.  I assume this is the process how most hand quilters stitch a quilt?  

After I complete each row, my eyes and hands are ready for a change.  First, it is a pleasure to outline stitch the repro fabrics. as there is a wide variety due to it being a scrap quilt.


Second, I like the ease of a double line straight stitching on the alternate blocks.  It is simple and relaxing.


A pleasant surprise is how the half triangles meet on point with the alternate blocks.  Have you ever experienced a little surprise as your hand stitching patterns evolve?


On the last day of the 2014 Winter Olympics and the last Sunday in February, may you find a snippet of time for handwork and/or visiting others at Kathy's Slow Sunday Stitching.

Friday, February 21, 2014

Cabin Fever Cure


Snoodles at Lily Pad Quilting has a clever linky party regarding curing cabin fever.  Great idea!

The positive thing for me, this crazy winter, is that it has kept me indoors; therefore, I have accomplished a decent amount of quilting.  The daylight hours with the sun (and/or reflection from the deep snow) streaming through the windows is making for easy-on-the-eyes hand work. 


On the good weather days (over 10 degrees) some of my outings have lead me to estate sales.  My recent finds include two yards of rosebud material interspersed with tiny red hearts.  Per Murphy’s Law, I purchased it after Valentine’s Day.  Lol.  At the same sale, there were nice pieces of vintage trim.


Two weeks ago, I was attended an estate sale at a lovely home in an affluent community.  It was a traditional home filled with quality items.  I was tickled to find this soft white baby yarn from Norway along with knitting needles.


This was the home where I purchaed the yarn.  All I wanted to do is curl up in their comfy chair located near the bay window and knit.


Reading blogs has also kept cabin fever at bay.  I got this idea from Kelly's blog, PinkADot Quilts.  My husband asked to me finish some snow shoveling for him as he had to leave for work early (due to the bad roads).  When he came home, this is what he found.  

To see what others are doing to stay out of trouble and avoid cabin fever, check out Lily Pad Quilting.

Friday, February 14, 2014

Calorie Free Valentine Hearts


These cloth hearts were a quick, easy and colorful sewing project.  I prefer this style of heart with pinked edges as the hearts do not have to be turned. Easy is best for fun projects.  Do you agree?

Choose your material/scraps:


Optional preparation:  Spray starch fabric and iron-on sheer fusible interfacing which helps in preventing excessive fraying to edges:


Put two layers of fabric together (wrong sides in, right sides out):


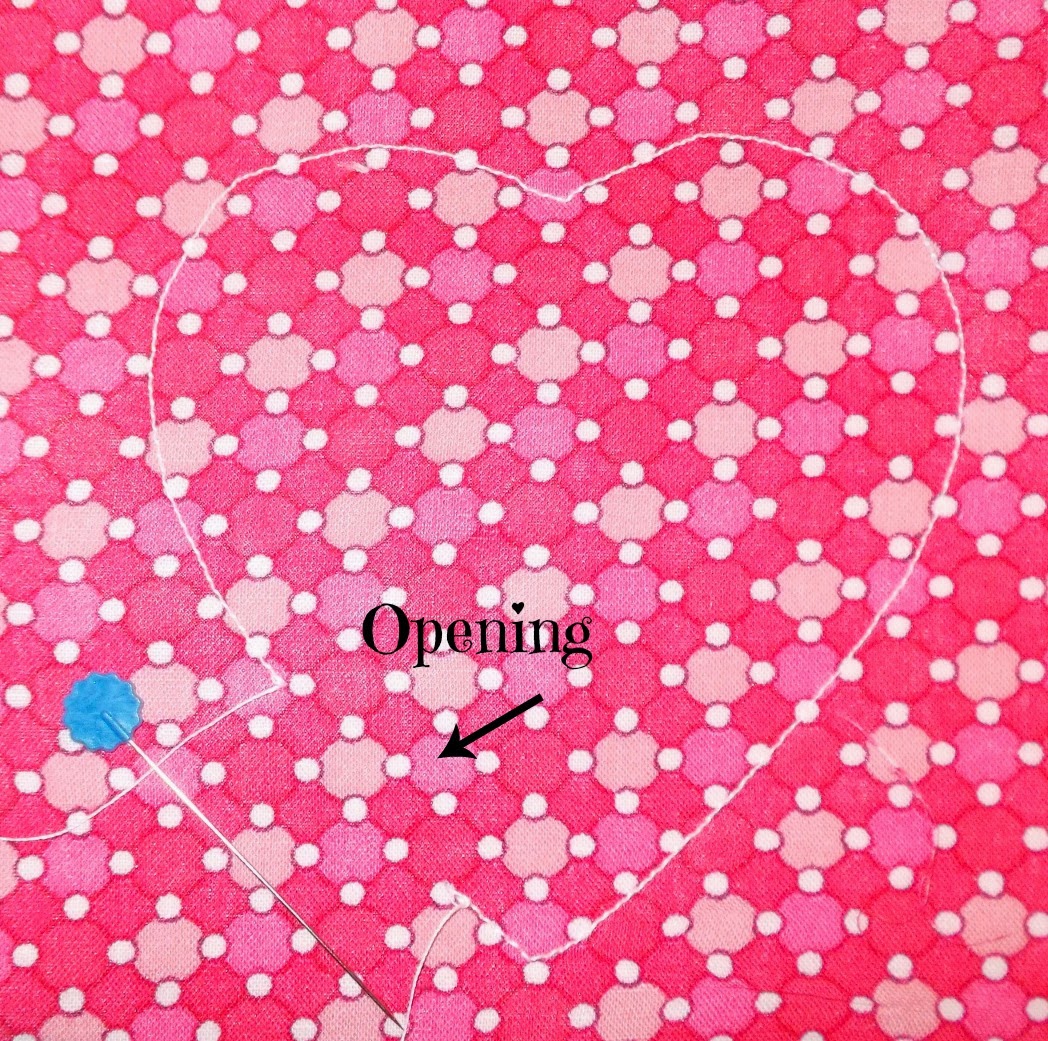
    Stitch around template leaving 1 inch to 1-/12 inch open for stuffing:


      Fill/stuff:


        Sew opening shut and cut fabric with pinking scissors approximately one-quarter inch away from seam allowance:


          It doesn't matter when you pink your edges.  Either before heart is stuffed or after heart is sewn closed. Your preference, whichever is the easiest.


          Other tips:  
          • I used a heart-shaped cookie cutter as my template.  The cookie cutter shape was a bit too small.  Therefore, I traced the shape on a piece of paper and then enlarged it on my copy/printer to a comfortable size for sewing a heart.
          • Fabric was prewashed and then spray starched for extra body. 
          • Iron-on sheer lightweight interfacing helps stablize shape and aids in preventing fraying of pinked edges.
          • Some hearts are filled with leftover quilt batting.  Some are filled with lavender buds and some are filled with a homemade sachet mixture which is oatmeal that has been infused with essential oil of lavender.  The sachet hearts will be little valentine gifts. 
          • Use small stitches on your machine for ease of stitching a heart shape.
          • Trims are also optional.  If you do decide to add trims, either stitch or glue.


          Oh My Goodness!  A person could go crazy making these.  The sky is the limit. Decorate fabric with embroidery (hand or machine); use fancy fabric, beads, sequins and trims; add a ribbon to make a hanging heart, etc.!  Whatever, your heart desires.  :-)

          This Valentine’s I was hoping to make heart-shaped sugar cookies, however, I ran short of time.  At least these cloth hearts will not add to my waistline.  Here is my calorie-free heart recipe:


           = (equals)


          The initial idea to make my valentines came from the popular blog Cottage at the Cross Roads by Leo and Jane.  They have a great tutorial on making fabric hearts along with other easy-to-understand tutorials and projects.  Thanks, Jane, for allowing me to share.

          Check out February's Sew Darn Crafty Linky Party for great projects.


          Sunday, February 9, 2014

          Slow Sunday Stitching

          Today, I plan on finding time to hand quilt the border print on my 1800s reproduction quilt.

          Before
          (white threads are from basting)

          It has been enjoyable stitching along the border print.  There is no marking to be done nor seam allowances to stitch through.  I just follow the design!

          After
          When both sides of the pattern are quilted, the end result is quickly gratifying.  A nice scalloped effect is simply created.  This is the first time I have used Quilters Dream Wool Batting.  It is easy to hand needle, lightweight, not bulky, yet shows dimension.

          It always surprises me the effect that the actual stitching does to the look of a quilt as evidenced in the before and after photos.

          May many others who link to and/or view Kathy's Slow Sunday Stitching today also find a few moments to accomplish a bit of gratifying hand work.


          Monday, February 3, 2014

          Design Wall Kaffe

          Next quilt that is on the design wall (floor) consists of brightly colored fabrics by Kaffe Fassett.


          The prints are a refreshing change for my eyes after working with traditional 1800s reproduction fabrics.  See previous post if interested.

          Viewing his fabrics in the midst of this cold and snowy winter has me dreaming of a tropical vacation.

          Thank you to Judy at Patchwork Times for the opportunity to share my prints with others on Design Wall Monday.


          Sunday, February 2, 2014

          Slow Super Bowl Sunday Stitching

          Super Bowl Sunday is here and hopefully a whole lot of stitching will be going on in blogland.

          The 1800s repro-quilt has been all board basted and is in the quilt frame.  During the past two weeks, the hand quilting has begun.  One row completed.


          A glitch was experienced but was overcome.  Note that glitches are common to me and they tend to slow me down.  Does that happen to you?

          My glitch occurred after I had completed stitching two of the alternate blocks.  I desired to do double rows of quilting of which I have seen in vintage and antique quilts.  Therefore, I just started quilting double rows (close together) at one-inch intervals.  It didn't look right.  The rows reminded me of tubes or sausages all lined up.  It bothered me.


          I checked an antique quilt from my collection and noted how the alternate blocks were quilted in double rows with wider spacing.  Side note:  I love the soft yet scrunchy look of the antique quilts.


          Therefore, I re-evaluated and drafted a simple quilt pattern on tracing paper cut to size (eight inches square).  I folded the paper in half to center the stencil.  From the center point, I drew simple dashed lines simulating quilted stitches.


          By spacing the double rows 1/4 inch apart at 3/4 intervals, it worked out perfect.  I laid the paper on top of the alternate block to confirm and it looked good.  If I wasn't story problem challenged, I would have maybe figured this out first.  Lol!

          Then I had to pull out the previous stitches and redo the two alternate blocks.  It wasn't so bad as I was working along one of the edges, therefore, the blocks weren't full size.  I disliked the extra work, but was relieved that I fixed something that bothered me.


          If you are not into watching football as myself, may you find some time to do some stitching today with others at Kathy's Slow Sunday Stitching.

          Monday, January 20, 2014

          Basting with Boards?

          Have you heard of basting a quilt with boards?  I hadn't until I found an online tutorial.  My initial reaction was that it would be cumbersome, bulky and fussy.  Nope, it is not.  Quite the opposite.

          Board basting.  Who'd of thunk it?  Certainly not me.  I learned this method by watching a tutorial by Sharon Schamber on YouTube.  It explains the process very well.

          Using boards to baste the three layers of a quilt appealed to me because:  1) No crawling around my floor stitching from center outwards in every direction.  2)  Save on lower back strain by not have to be bent during the basting process.   3)  No twisted body contortions trying to reach center.  4)  No shifting of fabric while attempting to baste the whole quilt while spread out.  5)  Reduces the chance of unforeseen puckers and loose fabric as all three layers are held down by the boards.

          Following are the steps that I took.  Please note there is more detailed information on Sharon's video.

          1.  I purchased two 1" x 3" trim board with a length five to ten inches longer than backing.  Made sure they were straight, cured and/or painted. Mine were purchased at Home Depot for approximately ten bucks for the pair.


          2.  Back (previously pieced, starched and cut to size) was laid out face down on a flat surface which at my house is the basement floor.  Top was centered on top of backing with fabric face up.  No batt just yet:


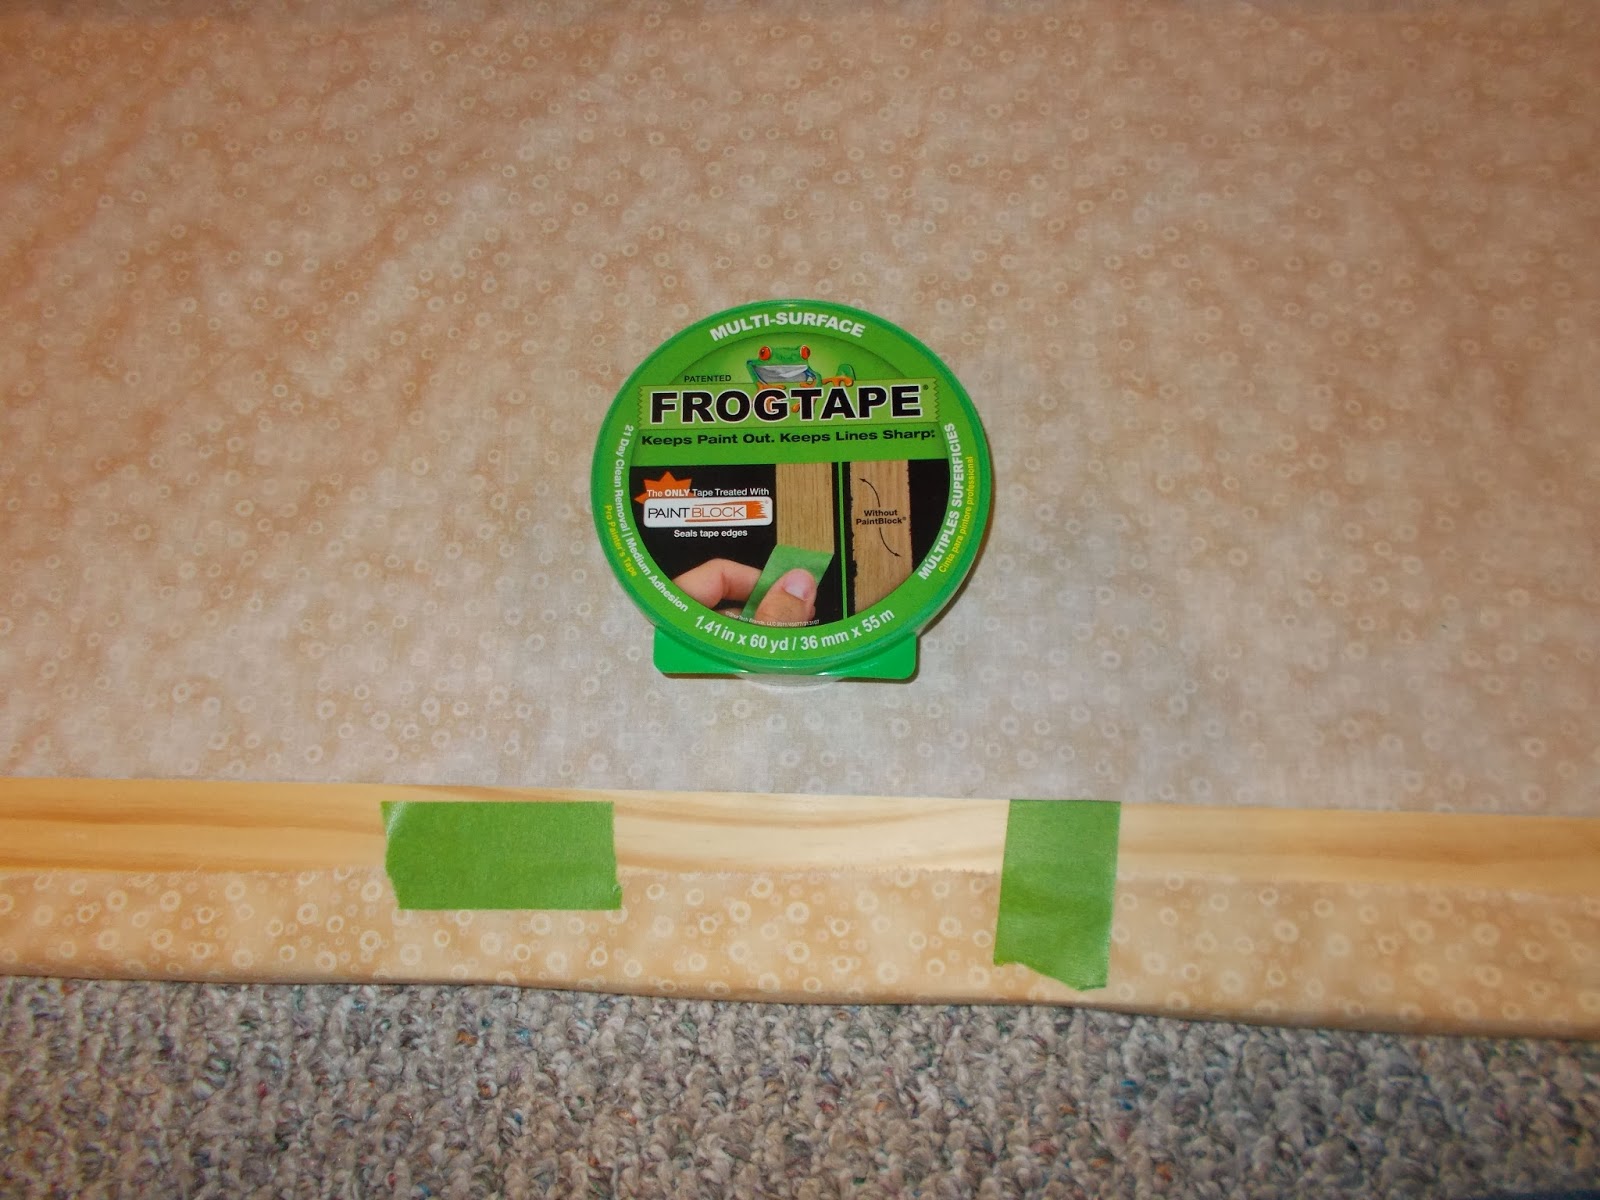
          3.  One board is placed horizontally along the bottom edge of quilt top. I used painters tape to adhere fabric to the wood for a smooth start on wrapping the fabric on board:


          4.  Second board is placed horizontally along the bottom edge of backing.

          5.  Begin to roll up board with quilt top holding the fabric taut as you roll for approximately 12-16 inches:


          6.  Begin to roll up board holding backing. Again I used painters tape to adhere fabric along wood. This board was rolled up 12-16 inches to meet the first board:


          7.  Both boards were rolled up in tandem in increments of 12 to 16 inches.  I found that the weight of the first board in keeping the back fabric weighted down thus taut:


          8.  Board with back fabric was then turned around and placed on my pushed together tables:


          9.  Unrolled board with back (right side face down) for approximately 12-16 inches.

          10.  The batt was then placed on top of back. Batt is laid out flat and spread on table.

          11.  The board with quilt top was then placed on backing and unrolled 12-16 inches:


          Just like a quilt sandwich:
          • Bottom layer is the back (right side down)
          • Middle layer is the batt
          • Top layer is the quilt top (right side up)

          12.  Begin the basting process in a herringbone stitch working right to left or left to right, whatever your preference.  As I basted each section, I then pulled quilt down and unrolled another 12 inches or so of the fabric on both boards. Bottom board goes underneath the batt.  Top board goes above the bat.  It all stays together with perhaps minor smoothing of fabric:


          That is it!  All three layers of the quilt sandwich stay reasonably smooth and taut during basting.  I was able to sit comfortably and baste in horizontal sections of the quilt.  I found it to be more manageable and relaxing than having to be bent over while basting from center out in all different directions.

          All three layers held together nicely with the boards.  Below is a view on the last section to be basted.  Note the fabric is still taut and all three layers stay together:


          The outcome was one of my best basted quilts:  


          Now basted quilt fits nicely into my Q-Snap quilting frame and I can begin to hand quilt any section that I desire as all layers are well secured.


          Other items that I found beneficial:
          • extra tables pushed together to support quilt (card table, portable table and my secondhand cutting table)
          • spray starched (non-aerosal) the backing fabric
          • pearl cotton #8 for basting (snuggles nicely with all layers)
          • good needle threader that would accommodate the pearl cotton
          • thimble
          • good lighting
          • chair with back support and preferable one with wheels
          If you are satisfied with traditional basting and never try this method, at least consider basting with #8 pearl cotton.  It is smooth, easier to handle than thread, holds the layers nicely together and it still allows for fabric movement.   

          If this post has peaked your interest and are considering this method, here is the link once more to Sharon's basting tutorial.

          Now that the basting part is over and the quilt is in the frame, I can now link up to Kathy's popular Slow Sunday Stitching as I was finally able to begin hand quilting my Civil War Era repro quilt on Sunday.  Yay!


          Sunday, January 12, 2014

          Knitted Bunny

          Today I look forward to beginning a new hand knit project.  I have not knitted in many years, but this super cute girl bunny has tempted me to pick up yarn again:


          I first saw knitted bunnies on a Quiltsalott posting.  My reaction was "Aw, too cute."  I was curious and followed the link to Little Cotton Rabbits and was smitten with all the bunny rabbits. It was easy to purchase and download the pattern.

          Next was a trip to a local yarn store (the brick and mortar variety) and a refresher knitting demo on YouTube, and I am ready to start clicking those needles.


          Since I haven't knitted in years, I had no supplies not even a scrap of yarn.  Therefore, the initial bunny will not be inexpensive although the pattern itself is an excellent value.

          It is amazing that I can purchase a pattern from across an ocean and have it printed in full color within seconds.

          I am grateful to have discovered Kathy's Slow Sunday Stitching weekly linky party as I am a slow stitcher. I need to start my knit stitches in January to be completed by Easter.


          Monday, January 6, 2014

          Design Wall Ta Da!

          Quilt top is finished and ready to be removed from the Design Wall. Finally! It took longer than I had anticipated, but I presevered.


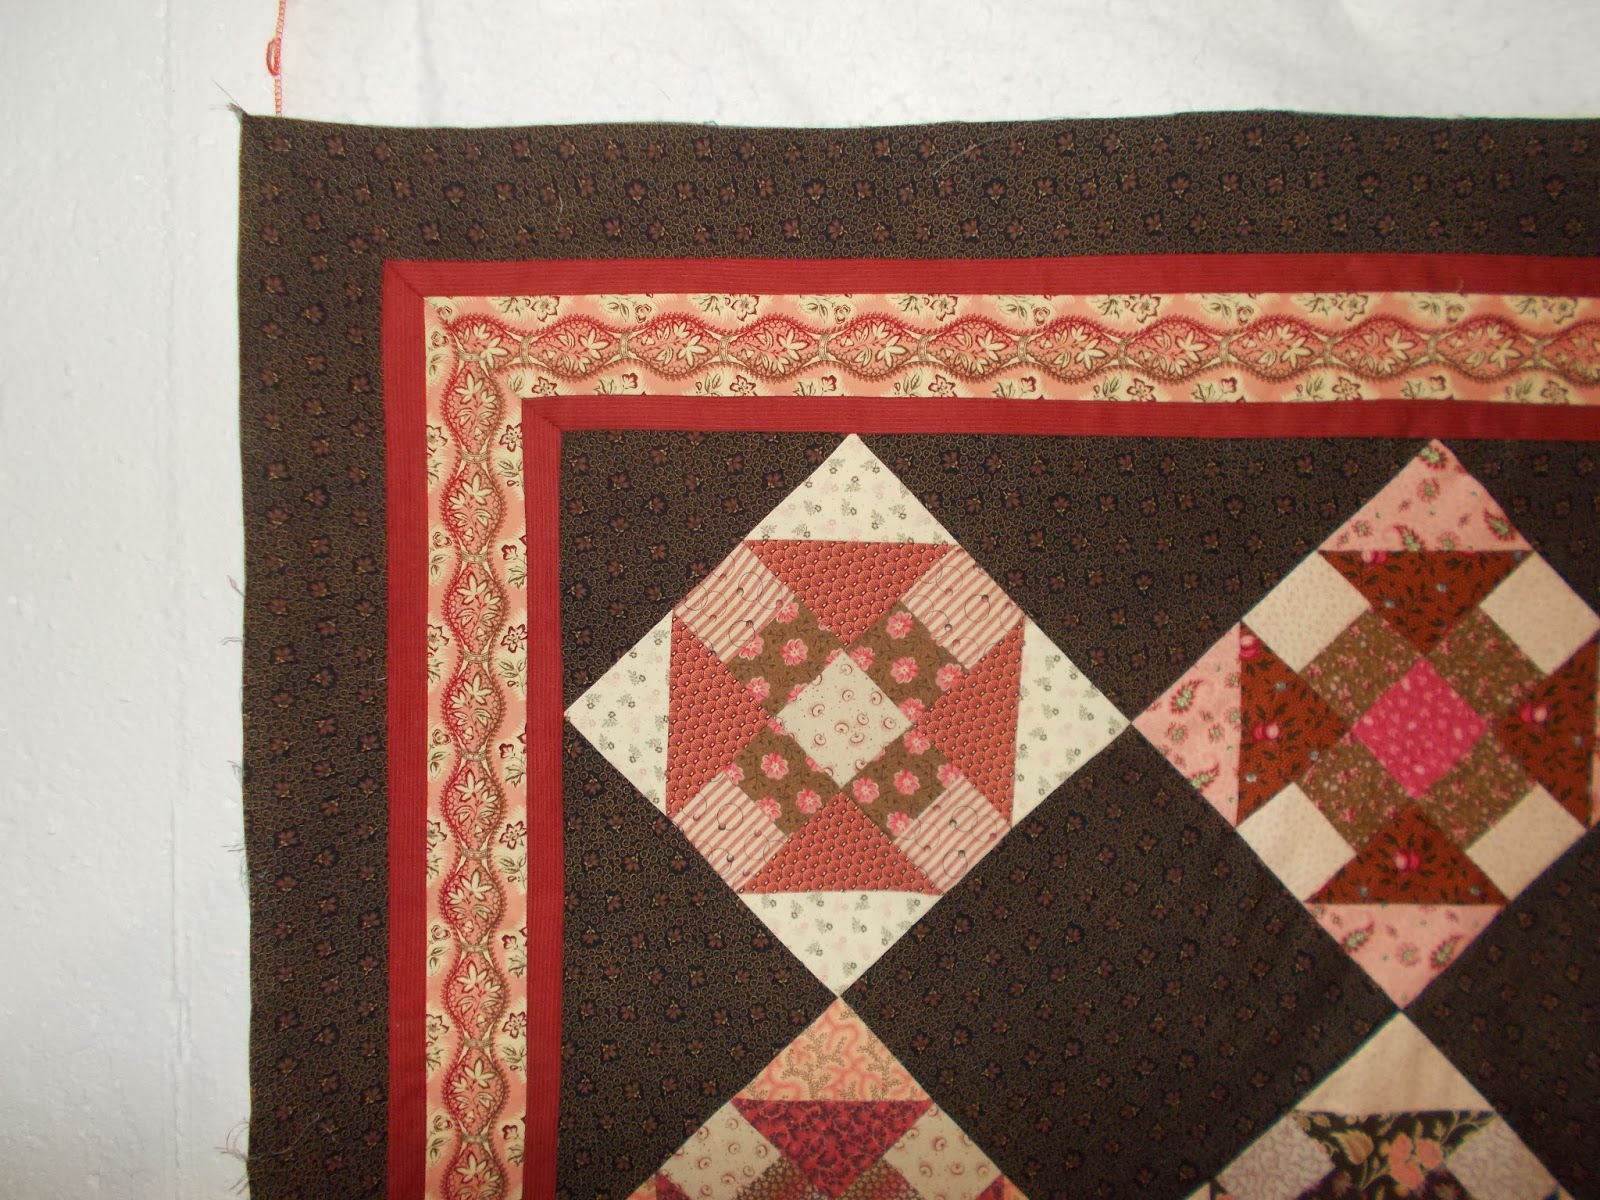
          Mitered borders were manageable.  Due to having one patterned print and three other fabrics in the border, the process was a bit more tedious.  Many quilters do not precut mitered borders prior to sewing to quilt. However, I did precut them with the 45 degree angle thus making the fabric easier to handle with less bulk. Note, there were triple checks of pre-measuring prior to cutting.

          I learned this method on an excellent YouTube video  by Deonn Stott and Cindy sponsored by Riley Blake Designs.  It was very beneficial. I was hoping to have flowers meet at the exact angle, but I was unable to pull that off.  I did decide that
          having the miters meet and lay flat was good enough for me. The overall look of the mitered design suffices.

          Batting has been ordered. A shirting fabric for the backing was purchased at a local quilt store.  I hope to begin basting this week.

          I live in the half of the country that is affected by the Polar Vortex, thus it felt good to stay in and sew.  Did you stay in and sew due to the dangerously frigid temperatures?

          View from Quilting Dreams in Marine City, MI
          US Coast Guard Ice Cutter keeping the St. Clair River open

          This will be the last Monday that this quilt, "Tara," (don't hold me to the name) will be posted on Judy's Patchwork Times Design Wall Mondays. Please check the others out.  There are many pretty ones posted this week.