Finally, it's time to start stitching the outside quilt borders. Today I will be timing my stitching progress on the cable border to determine if I am still able to meet my March 31st deadline without making myself too crabby.
Yesterday, on National Quilting Day (which is suppose to be fun) I had an unanticipated setback. My stitching was moving along nicely on the bottom triangles and inside borders. I was so pleased and was actually considering what I should post for
Slow Sunday Stitching hosted by
Kathy's Quilts. With delight I came to the
very last corner/block. As I was drawing my diagonal line, the pencil chalk lead became stuck. When I looked, there was an 1/8" inch hole. I did not "&*%)@" as my heart had stopped. I just gasped, "Oh no!"
I have no idea how it happened as I hadn't even worked on the block. Maybe something caught during the basting process. Maybe it was in the fabric before I pieced it. Black print fabric can hide flaws. Maybe I could stop feeling sorry for myself and just fix it. My first thought was the product Fray Check. However, that would only be a repair and not the solution.
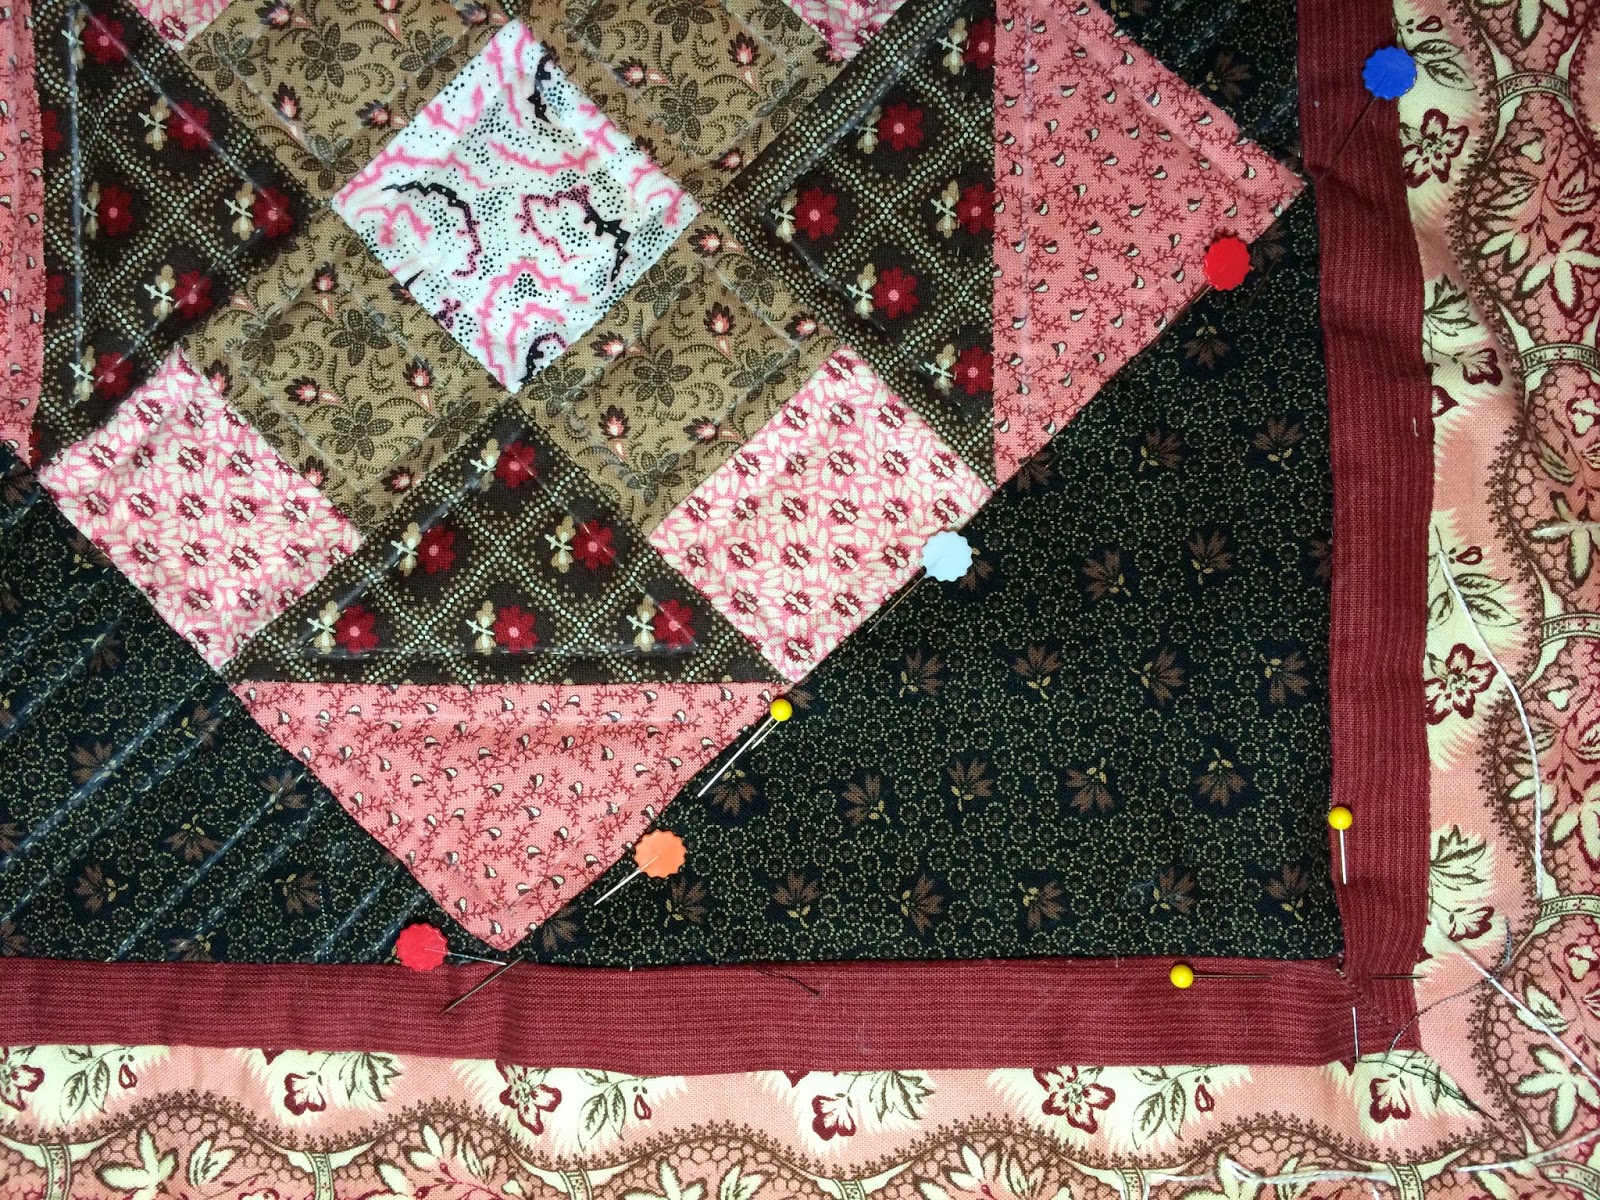
The only thing that would satisfy me is to replace the block. Ouch! Out came the seam ripper and the corner was carefully extracted. All loose threads removed and seams pressed open. The old piece was a template for a new piece. Fortunately, I had extra matching fabric.
The two straight sides were stitched by machine but not fully to the corners/ends. Then I inset the diagonal side with 1/4" seam allowance turned under. Pins were used to line it all up and to prevent any shifting.
 |
| Quality Control approved for Next Step |
The corners and diagonal edge were blind stitched (similar to applique process). I was pleasantly surprised that it turned out well. Phew! This process took two hours, but it was worthwhile.
It could have been worse. There could have been previously sewn quilt stitches in the block or it could have happened on a larger block. The hole was on top layer and not bottom, etc. I was lucky that the mysterious flaw was on a corner piece.
Next was marking the border with a cable stencil. Of course the cable design did not measure out equally with the quilt width. I was off approximately 5/8's of an inch. So I
fudged adjusted my chalk lines. This was accomplished by spacing out pins to see how it would look prior to drawing the chalk lines.
When I was done with all thus fussy work, I rewarded myself with one of my stress relievers.
Smooth Stitches,
Jill